Pages

Sunday, October 27, 2013

Happy Birthday, Sandy!

Today is the birthday of one of the sweetest women I know, and I am blessed to say that she is my mother-in-law. I am blessed to have such a good relationship with her, and I am so thankful for her.
I had been thinking for weeks about what we could get her for a gift, and I knew she had mentioned wanting to get some tulip bulbs. I also knew that it would be fun for her to pick out the colors she wanted, so the mister decided to just give her money. I am more of a gift giver, not a money giver, but it is his momma. However, I couldn't stand to just stick money in a card.

I had this cute little clip board and notepad that I picked up for her from Michael's earlier. I wish I would have gotten one for myself since I realized when I got home that I had only paid $.75 for it! It worked perfectly for what I had in mind. I gathered the clipboard and notepad, twine, natural "branch" pencil from a previous purchase, the most perfect-for-someone birthday card I have ever found, and some ribbon. I also took the cash that he wanted to insist she use for tulips and made a cute little packet using one of my hand drawn floral designs, some ribbon, and a plastic bag.


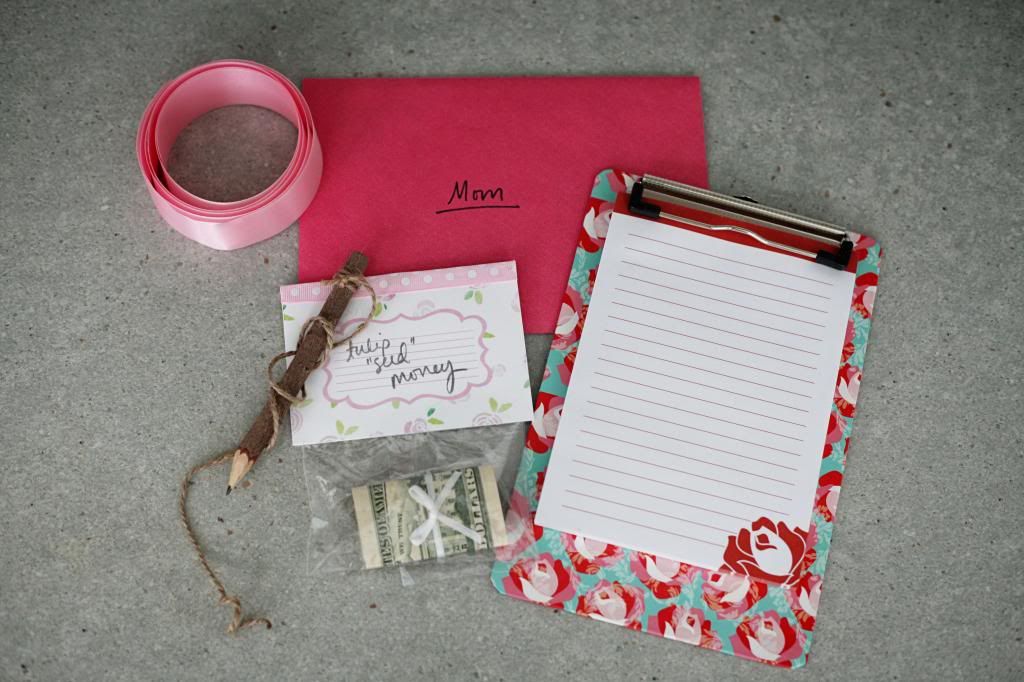
Attach the pencil with the twine, stack it all up, tie with a bow...and viola! I thought it turned our pretty darn cute and much more fun than just a card with money in it.


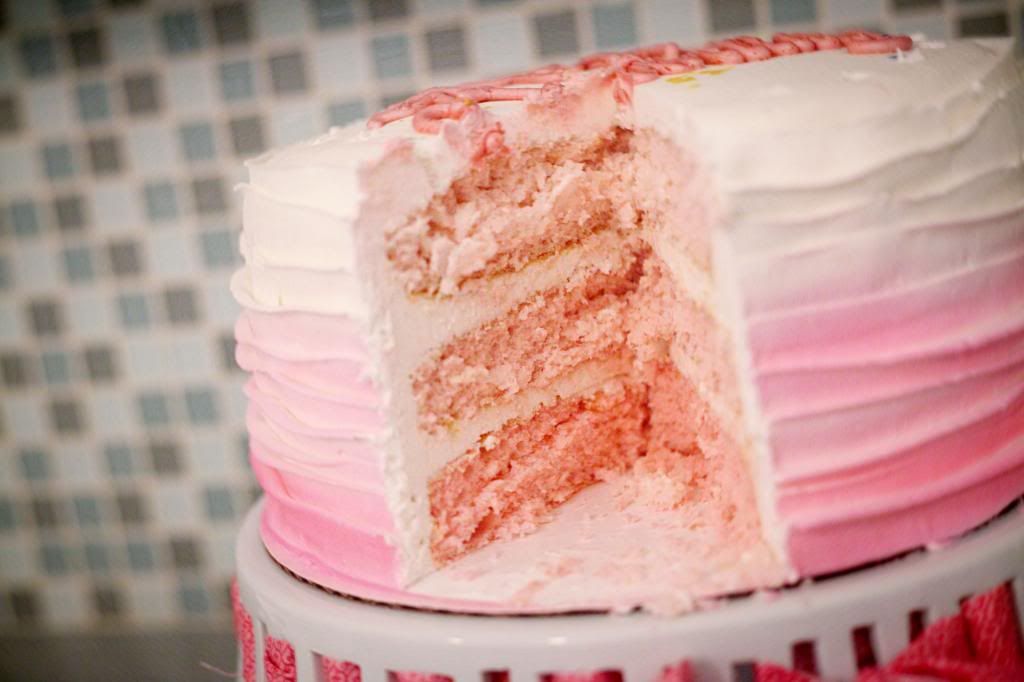
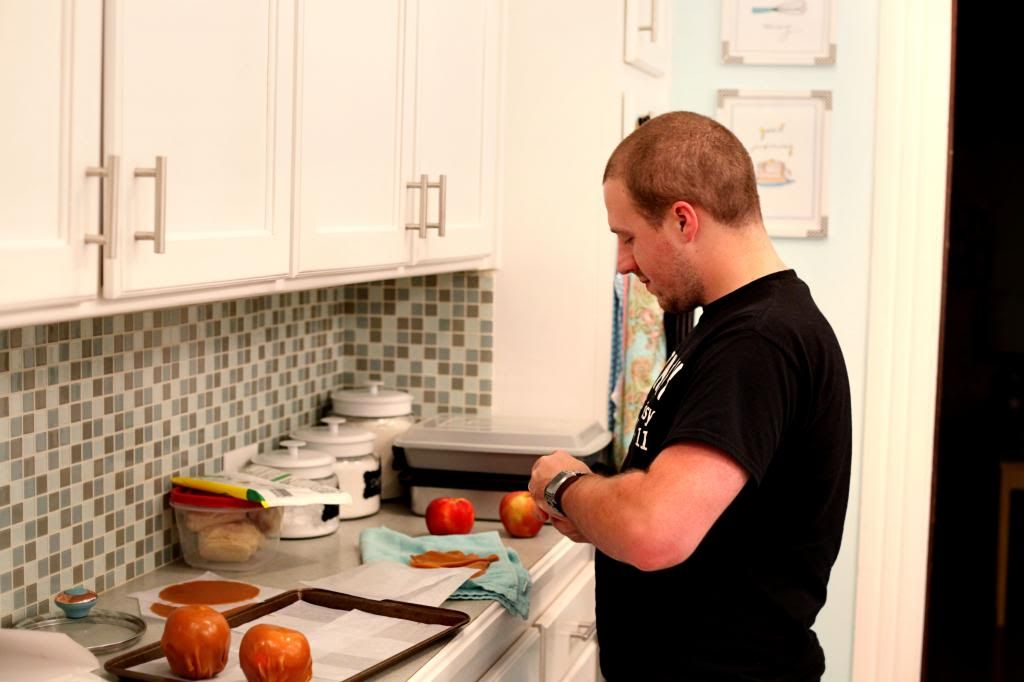
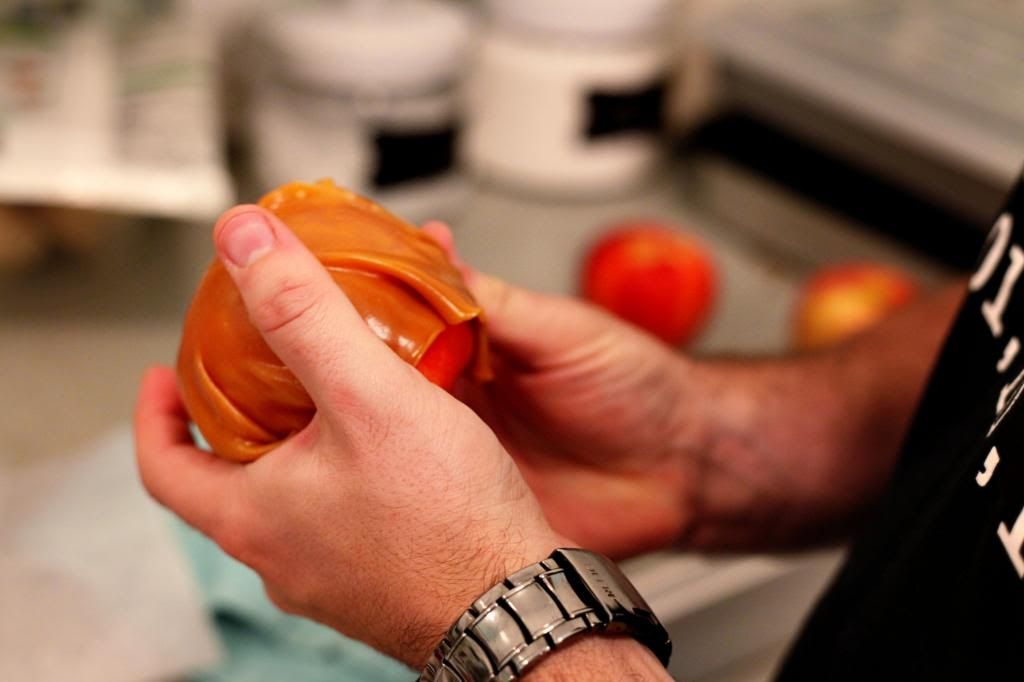
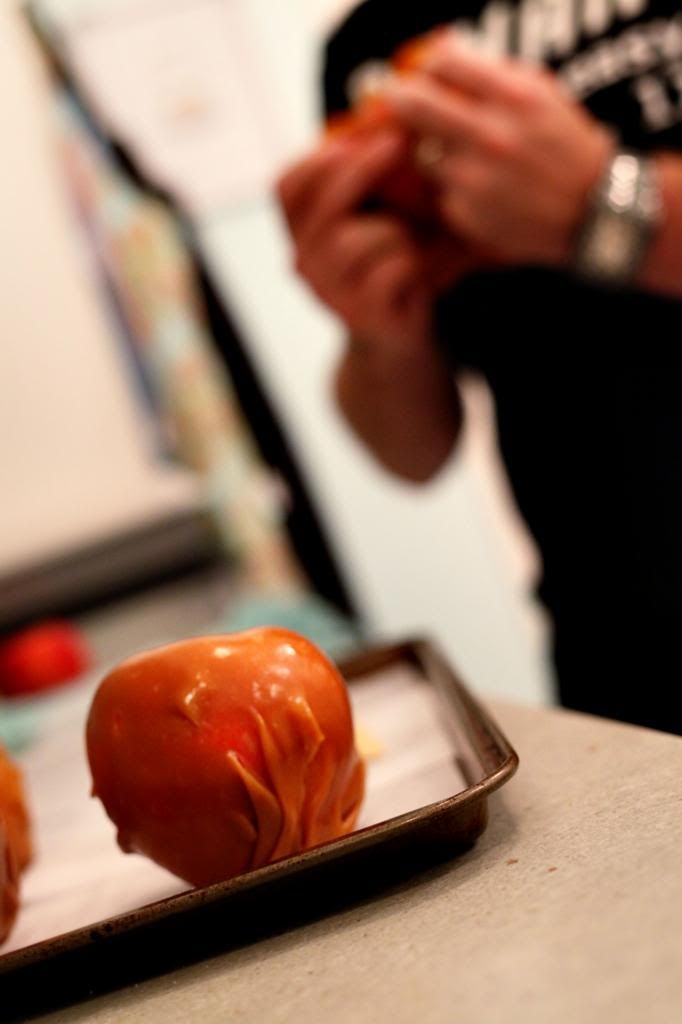
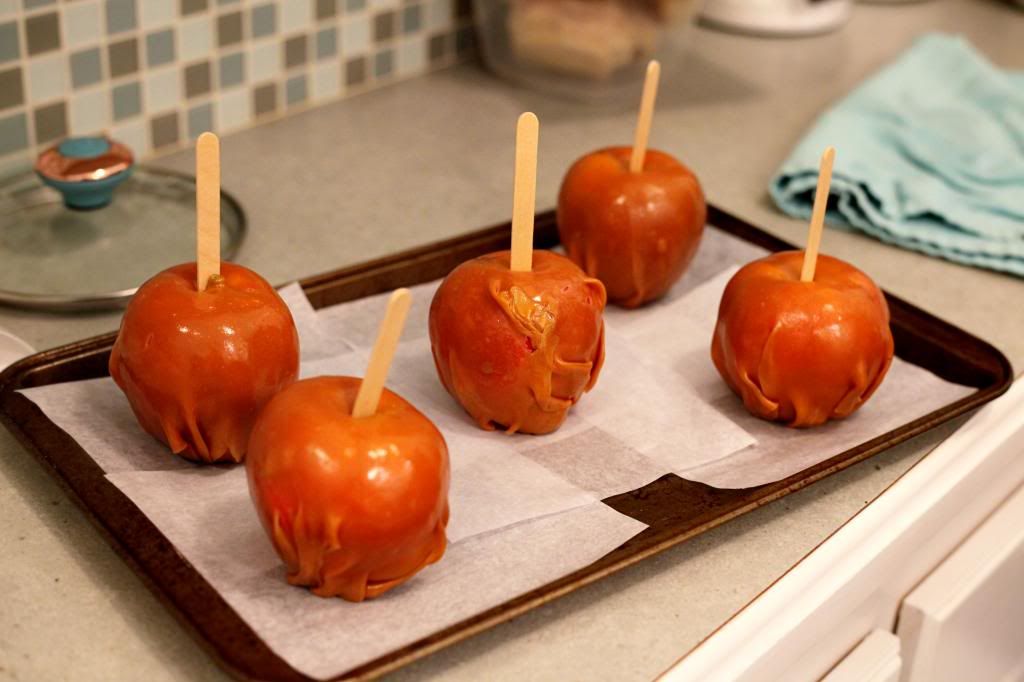
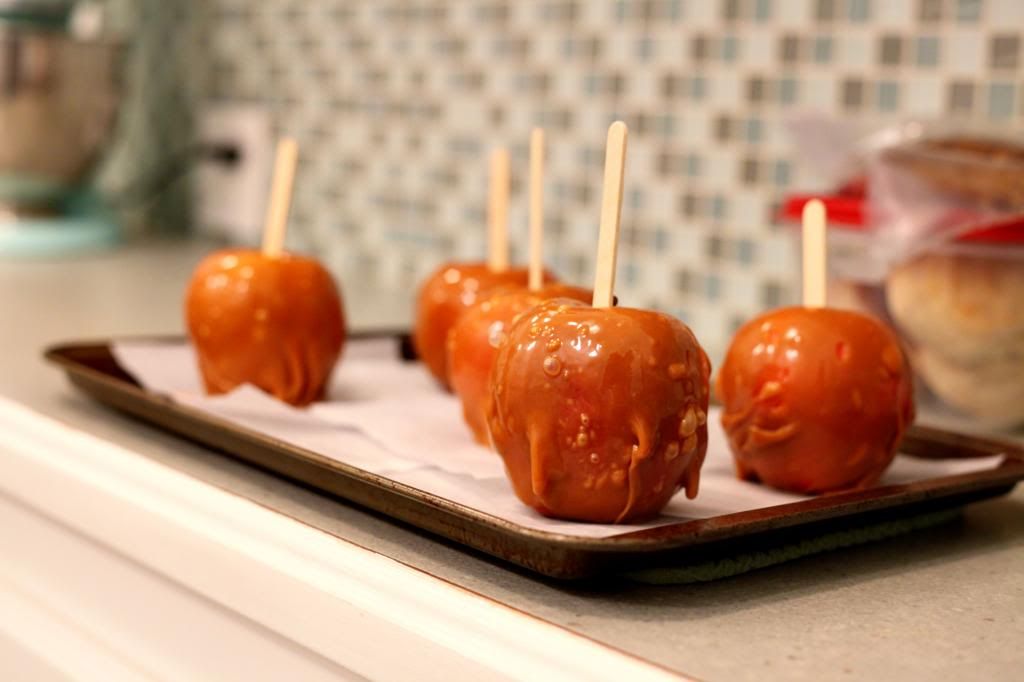
Last night we celebrated a bit with dinner and, of course, cake. She always makes sure that everyone gets a birthday cake for their birthday, and I wanted hers to be extra special. You see, if anyone ever appreciated pretty things as much as I do, it is Sandy. I knew she would appreciate any cake, but if I could spruce it up a little...even better.


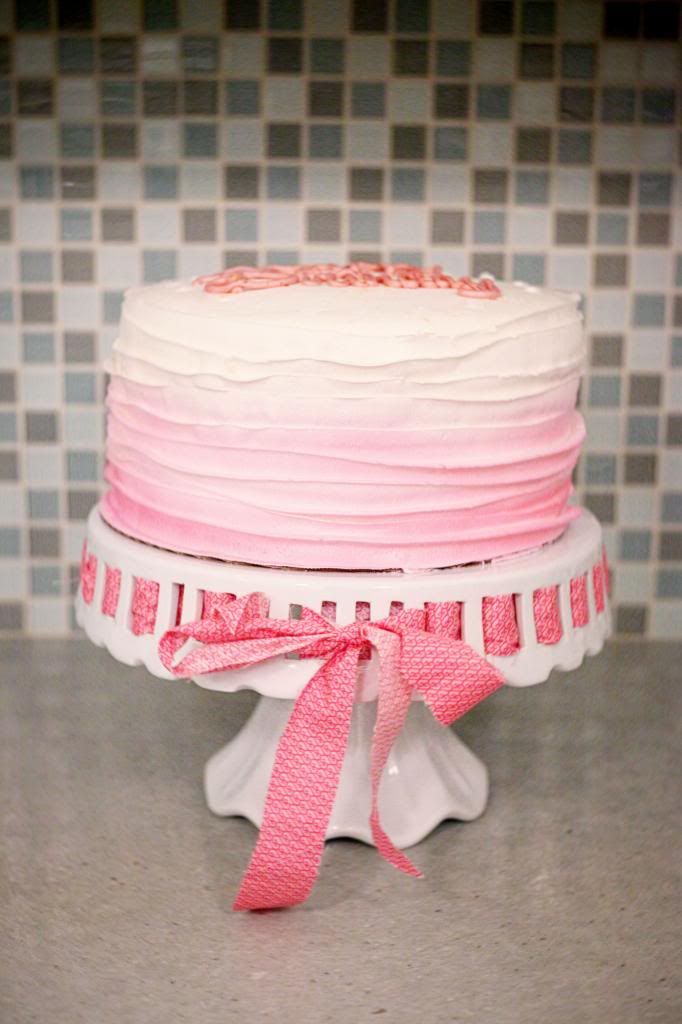
Good news. She loved it.


It was a fun time, and I am so glad we had the dinner. While it was nothing special, I could tell it meant a lot to her. It helped to make her birthday weekend special. We had leftover cake today, and she was tickled over her tulip money. She is a special lady, and I am thankful for her. I hope she felt the love behind these simple gestures. I hope she knows how much she means to us all.

Linking up with with Rebecca at Simple as That.

xoxo,
Katie

Monday, October 21, 2013

Free Printable: To-do list

So today while I was working on about a million things with a million other things on my list and another half a million running around in my mind, I decided I should make a new kind of to-do list. I always have a list a mile long, but I thought I would divide it up into sections. Now I have a list of things I need to get to as soon as possible, things that need to be done but are not urgent, and things I would like to accomplish but only if I have time for it. I am thinking this will come in really handy for me and maybe for you too. That is why I want to share it with you!


Just click the word below, and the document will open. Select the down arrow on the top left of the screen to download the file and save it for printing. Click and download them all if you like!

[green]          [orange]           [purple]


I hope this is helpful for you all as well. Let me know if you download. I would love to hear how you are using yours! 

xoxo,
Katie 

Sunday, October 20, 2013

[Simple] Lampshade Makeover

It has been a busy week, so I haven't had a lot of time to work on projects around the house. I have several art pieces to work on right now, so personal projects will be put aside for a bit. However, I was browsing some older photos recently, and I came across this project. I wasn't blogging at the time, but it is one of my favorite projects. And the best part...it was so simple! 


Here is the breakdown: I started with a blah, cheap floor lamp from Target [I think]. The shade was loose and terrible. To replace it I used a super lightweight birdcage I had left over from our wedding decor. I removed the shade, and had to elevate the cage so I painted a pencil white and jammed it in the open metal piece where the shade screwed on. [Note: Some sort of rigging or McGyvering is usually involved in my projects] Luckily it fit perfectly, and I drilled a hole [not all the way through] the inside, top of my birdcage. Next I used scrap lace and fabric to weave in and out of the cage, and ta-da! That is it!

Usually I change things a lot around here, but this has remained since I complete the project in April. I don't see it going anywhere soon! Also, I was noticing some of my favorite projects around the house that I never shared so I might have a new weekly post ahead. Stay tuned!
 Happy Sunday! 
 xoxo, 
Katie


Monday, October 14, 2013

Handy Danny

I don't know how many people know this, but my dad is one talented guy. He is my go-to for help on any hardcore projects or when I have a dumb question about a simple project. He built the oak desk that I am sitting at now for me for Christmas years ago, and I will cherish it forever. [I would share a photo, but my office is a disaster zone, and you can barely even see the desk...maybe some other time.] He made Georgie an incredible, cedar toy box for her birthday. He helped with made all my "canvases" for my senior project in college. 

 [December 2012: via instagram]

There are numerous other projects that I could mention, but I feel like you can't even appreciate them unless you understand the time and love he puts into everything he does. Sometimes I tend to want to rush him with shortcuts about things like filling nail holes or one last pass with the sander, but he is a perfectionist. I know this is where I inherited the trait when I am working on a project. 

Last week after he finished making Georgie's toy box he just whipped up some cedar trays [like it is no big deal] for the women in the family. I am torn because I want to keep mine readily accessible so I can use it, but it looks so pretty on display. 


Some of my favorite childhood memories with my daddy are of helping him in his shop. He would help my brother and sister and I to make each other homemade Christmas gifts when we were little. Sometimes we would just go out there and hang out while he worked on a project. I would sweep up the sawdust while he worked. He is one handy guy, and I am thankful for every one of his creations and for the lessons he taught me in taking pride in my work. 

xoxo,
Katie

Sunday, October 13, 2013

A Caramel Apple First

I love Fall. It is definitely my favorite time of year. I get so excited about all things Fall [except spiders...I HATE spiders]. But you give me pumpkin spice candles, leaves, boots, and sweaters...all stereotypical Fall things, and I am a happy girl. However, one Fall-ish thing I have never done is make caramel apples. I honestly don't know if I have ever even eaten a caramel apple before this year. I know...don't judge. 

I mentioned in this post that my sweet husband heard me casually mention that I would like to give making caramel apples a try and brought home the makings. It was not a cart full of items required to make homemade caramel and all that jazz. Nope. It was a package of 5 caramel discs that you wrap around your apples, insert the included stick, and heat in the oven for 5 minutes. Boom. Caramel apples.


 My mister knows me well. I might have big dreams, but committing to making legit caramel apples is not on my to-do list for a Wednesday night when there is a pile of dishes, 4 piles of laundry, and I have been gone for almost a week. 


Despite the question of our caramel apples' legitimacy, we enjoyed making them together. It was just the ticket. We don't have a lot of time at home together right now, but he knew I would want us to have this experience together. I love that guy. 


And while we are on the subject of caramel apples...how do people eat these at fairs and public events? I ate one at my house, and I felt like I needed a shower afterwards. It was the stickiest mess ever. I felt a little justified in my avoidance of them until now...though it was delicious, and I am about to have another one.

Feeling grateful for the simple things such as these and linking up with Simple As That.


xoxo, 
Katie

Saturday, October 12, 2013

How to: Natural Fall Wreath

Being a big fan of doing-it-myself, of course I am a big fan of a good tutorial. I am not sure how great this one will be, but I thought I would try to share how I created this cute wreath for my door using things that were just lying around my house and yard.


The possibilities for this wreath are endless, so the supplies can be whatever you have available. This is what I used: styrofoam wreath, fabric scraps, hot glue gun and glue sticks, [actual] sticks, dead hydrangea heads, leaves, cornstalk heads, weedy grass, dead asparagus plant, and ornamental grass.

You could also use a grapevine wreath for an even more rustic look. I already had this one lying around, and I wanted mine to contrast with my door. If you have a white door the grapevine would look great! Other options for natural items are: acorns, pine cones, bark, dried zinnias [or any flower], moss, any kind of leaves, grass or berries. I am going to try to find some feathers to add to mine!

I really only had a very loose plan for mine when I started. I just built it up one layer at a time, arranging it different ways to make sure I was satisfied before gluing. My wreath was already wrapped with strips of a cream-colored fabric, and I just added the green strips to get started. 


First I attached a couple of sticks and some dried leaves as a base. 


Next I gathered my small "bouquets" of some weedy grass, cornstalk heads, and ornamental grass and joined the pieces together with twist ties. This made it much easier to attach rather than attaching each individual piece. Also, when attached individually they don't have that bunched look of a bouquet. 


This must be where I got excited and just went crazy because I stopped taking photos of my progress. Oops. That is why I have never done tutorials for my projects. I don't usually like stopping long enough to document the steps. Basically I attached the small bunches I just mentioned, and then I wrapped the area where the base of the bunches showed with haystring. I wrapped it pretty thick and tied several knots before tucking in some dried hydrangea, adding the bow, and tucking in a few twigs from [believe it or not] my dead asparagus plant.

Ta-Da!


It was a fun, quick, and free project. That equals success in my book! Please share if you make one of your own! 

xoxo, 
Katie

Friday, October 11, 2013

The past week...

I have been pretty absent around here. Mainly because last week I:

  • baked upwards of 700 cupcakes
  • packed my bags [a bit haphazardly]
  • drove 6 hours to AR
  • took some Christmas card photos for my sis
  • experienced tons of laughs and much needed snuggles with my favorite birthday girl
  • helped throw a Barney birthday party: TOTAL SUCCESS
  • got to see my best girly friend for the first time in FOREVER 
  • accidentally used my mister's toothbrush
  • took some rigged [as usual] Christmas card photos of us
  • drank way to much diet Dr. Pepper
  • drove 6 hours back to MO-felt like 20 hours
  • had a near death experience heart attack run-in with a big, nasty spider right outside my back door
  • made chili for the first time this fall and got to spend 2 out of 3 nights with my mister [small miracle]  
  • start going through all the sweet photos I took of my girl during my visit


Overall, I cannot deny that it was a fantastic week. I am so thankful for my visits with my family, and I am already looking forward to more get-togethers during the upcoming holidays. We spend Thanksgiving in Missouri, where my fantastic mother-in-law makes it feel like home. Then it is another semester down [and just one to go!] followed by our annual Howell girls trip to Branson! So much to look forward to and be thankful for. 

xoxo, 
Katie