I have had several positive comments on the staging of my pieces for my shop, and I am so flattered! Today I thought it would be nice to share a few of the ways that I display my prints around my home. The great thing is that each display is so super easy, inexpensive, and there is no major commitment involved (my favorite part)! You see, one of my favorite things about prints is their versatility. They are an inexpensive way to switch art around for seasons, holidays, or just changing moods.
The three different displays I often use are frames, clip boards, and washi tape. Easy as that! Each of these displays today will be using the newest print in my shop, and I am very excited about it! The artwork from this piece comes from a custom piece I did for sweet baby Harper. I just knew I had to use the artwork on a piece in my shop. The antlers and peonies were inspired by my bedroom antler project, and the artwork is some of my favorite to date!

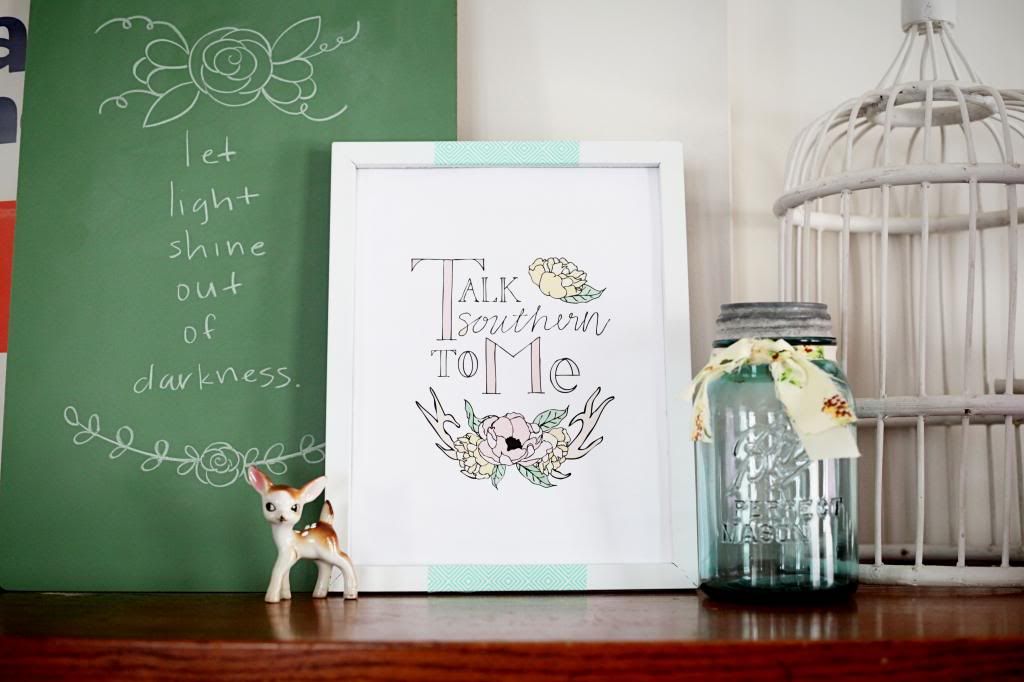
1. Framing
Framing sounds so plain and boring, but it doesn't have to be. While I love the clean, non-distracting lines of a plain white (and don't forget inexpensive!) frame, you can add some cheap washi tape to spruce it up and surround it with your favorite nick-knacks! The tape I used here is actually a masking tape I got from WalMart. It is so versatile, and the color is perfect. I love it using it on the corners of frames, as seen in some of the images in my shop.
Another tip for any vignette: Remember variety. Color variety is up to you and your taste, but try to mix it up with different heights, widths, and depths of objects. That variance keeps it interesting and keeps your eyes moving.
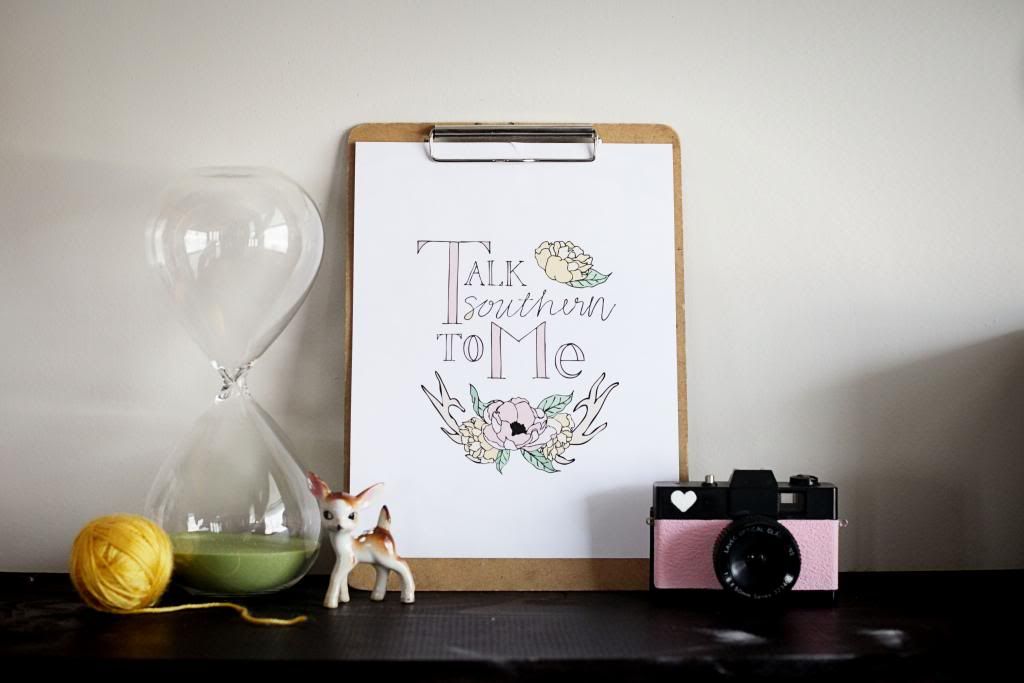
2. Clipboard display
Clipboards are also a super cheap way to display any piece. I have several of these laying around, and they are great way to display prints when you want to switch them out. You can even stack them up so all you have to do is rotate the prints to your current fave!
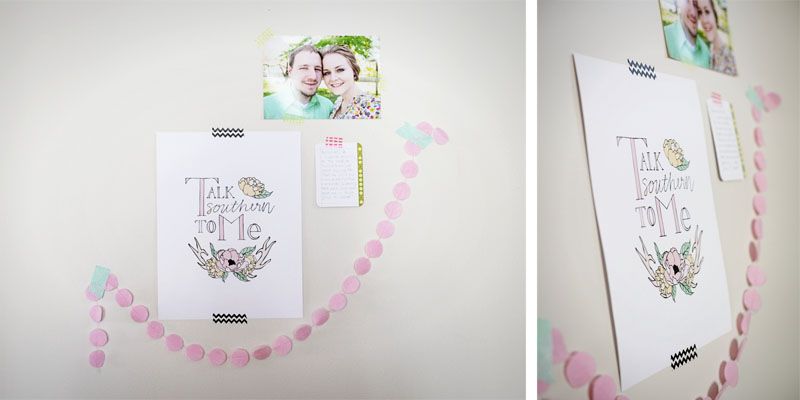
3. Washi tape
Another super easy and cheap way is to just stick them the print directly to the wall using washi tape! Since washi tape is usually just sticky enough, you can stick it directly onto the wall with no harm done to your paint job. A couple of times I have had the washi tape to actually come unstuck. A solution to that is rolling masking tape (that is also safe for your walls) and attaching it on the back of the print. Then you can use the washi tape for the cute factor. In this case I used the washi tape to make a small collage of some of my favorite paper items.
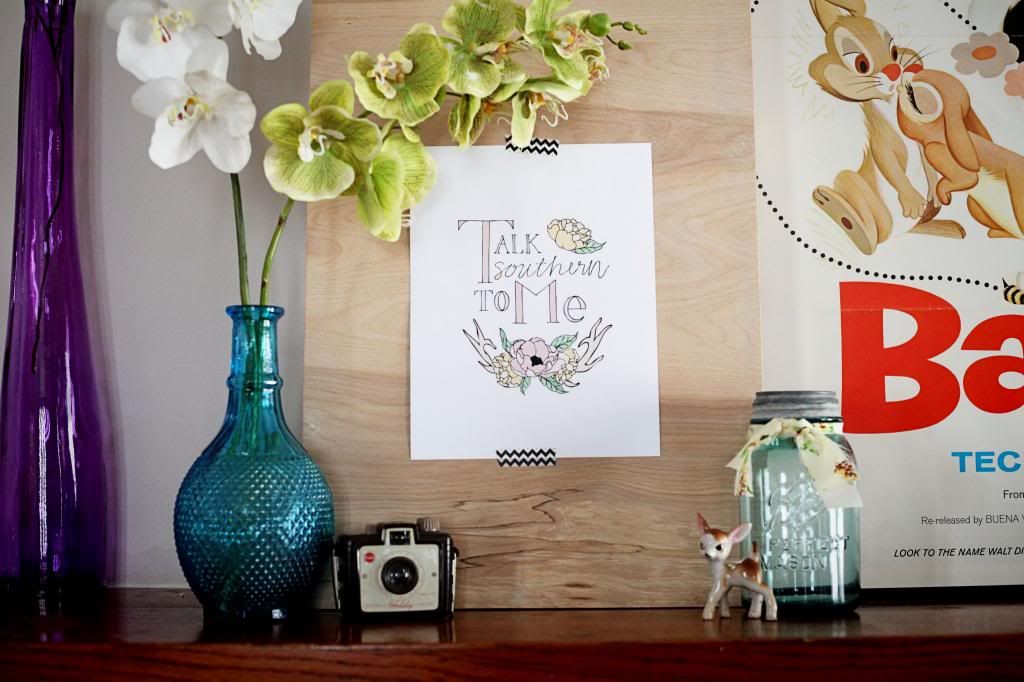
Another way I used the washi tape is to attach my current favorite print to this wooden "canvas" my daddy made me. While everyone may not have a piece like this it could be a chalkboard, old window pane, or even a piece of foam core! The possibilities really are endless.
I hope this might help get your creative juices flowing. I know I am getting in the mood for Spring, and that means I will be doing lots rearranging and switching things up. I would love see some of you displays and vignettes!
xoxo,
Katie
No comments:
Post a Comment